





Key Takeaways
Spotting damp before renovation starts saves real money and delay. A damp survey by an independent specialist is almost always cheaper than fixing damp discovered mid-build, once walls and floors are already opened up.
- Act immediately on spreading black mould, tide marks, or crumbling plaster.
- Condensation, penetrating damp, and rising damp look similar but need different fixes.
- Musty odours and cold, clammy walls are early warnings, before staining even appears.
- Guessing the cause and painting over symptoms almost always costs more in the end.
Why Damp Is a Renovation Red Flag, Not Just a Cosmetic Issue
Damp is one of the most common hidden problems uncovered during Irish renovations, especially in older properties. Blown plaster, rotten skirting, and wet insulation all have to be stripped and dried before new kitchens or flooring go in, and one undiagnosed damp wall can stretch a project well beyond its timeline. This is why understanding what a proper survey involves matters before you finalise a design. Damp and mould are also linked to respiratory issues — a health priority, not just a cosmetic one. See what to expect if damp turns up mid-renovation.
Common Visual Signs of Damp You’ll See During a Walkthrough
Look for brown or yellow tide marks around chimney breasts, and peeling paint on external walls, especially a single patch of suspiciously fresh paint. Plaster that flakes or sounds hollow points to long-term damp, and warped or rotten skirting signals moisture at floor level.
Hidden Damp: Behind Furniture, Inside Cupboards, and Under Floors
Large wardrobes and kitchen units can hide serious damp for years. Pull furniture on external walls forward and look for darker patches or black mould at low level, and check under kitchen units and stairs for crumbling plaster or a musty smell.
Smells, Cold Spots, and Other Non-Visual Warnings
Many serious damp problems are first detected by nose and touch, long before staining appears. A persistent musty odour, even with windows open, is a key early sign, as are walls that feel colder and clammier than surrounding areas. A dehumidifier running, or windows left open in winter during a viewing, hints that someone is already managing an ongoing issue.
Black Mould and Damp Stains: When It’s More Than Condensation
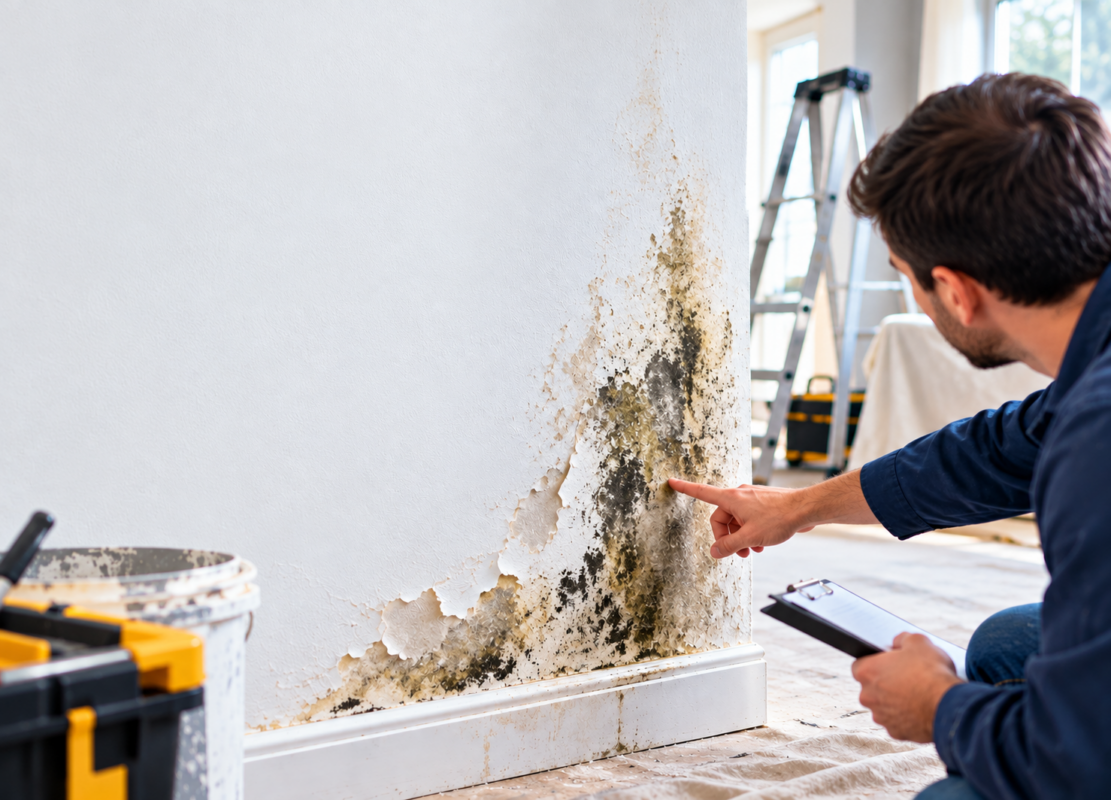
Not all black mould means the same thing — location and height matter. Condensation-related mould appears on window reveals and bathroom ceilings, usually higher than a metre up. Mould low on walls, especially along one external wall, may point to rising or penetrating damp instead. Wiping or painting over black mould before renovation is itself a red flag — the source needs finding and fixing first.
Tide Marks, Discoloured Patches, and White Salts
Horizontal staining and salt deposits are classic red flags in older homes without a modern damp proof course. Tide marks up to a metre high suggest rising damp; discoloured patches higher up, especially below flat roofs or bathrooms, often point to penetrating damp or a plumbing leak. White, powdery salts form as rising damp brings minerals up from the ground, and deposits that return after cleaning almost always mean ongoing moisture, not old damp that’s safe to ignore.
Condensation vs Penetrating Damp vs Rising Damp
Three mechanisms matter, each leaving a different pattern. Condensation happens when warm, moist air hits cold surfaces, causing droplets on windows. Penetrating damp moves horizontally through the fabric from outside, showing as random patches worse after rain. Rising damp is drawn upward from the ground when the damp proof course has failed, creating tide marks low on the wall. Misdiagnosis is common — use these clues as a guide, not a substitute for a formal survey.
External Red Flags: What the Outside of the House Tells You
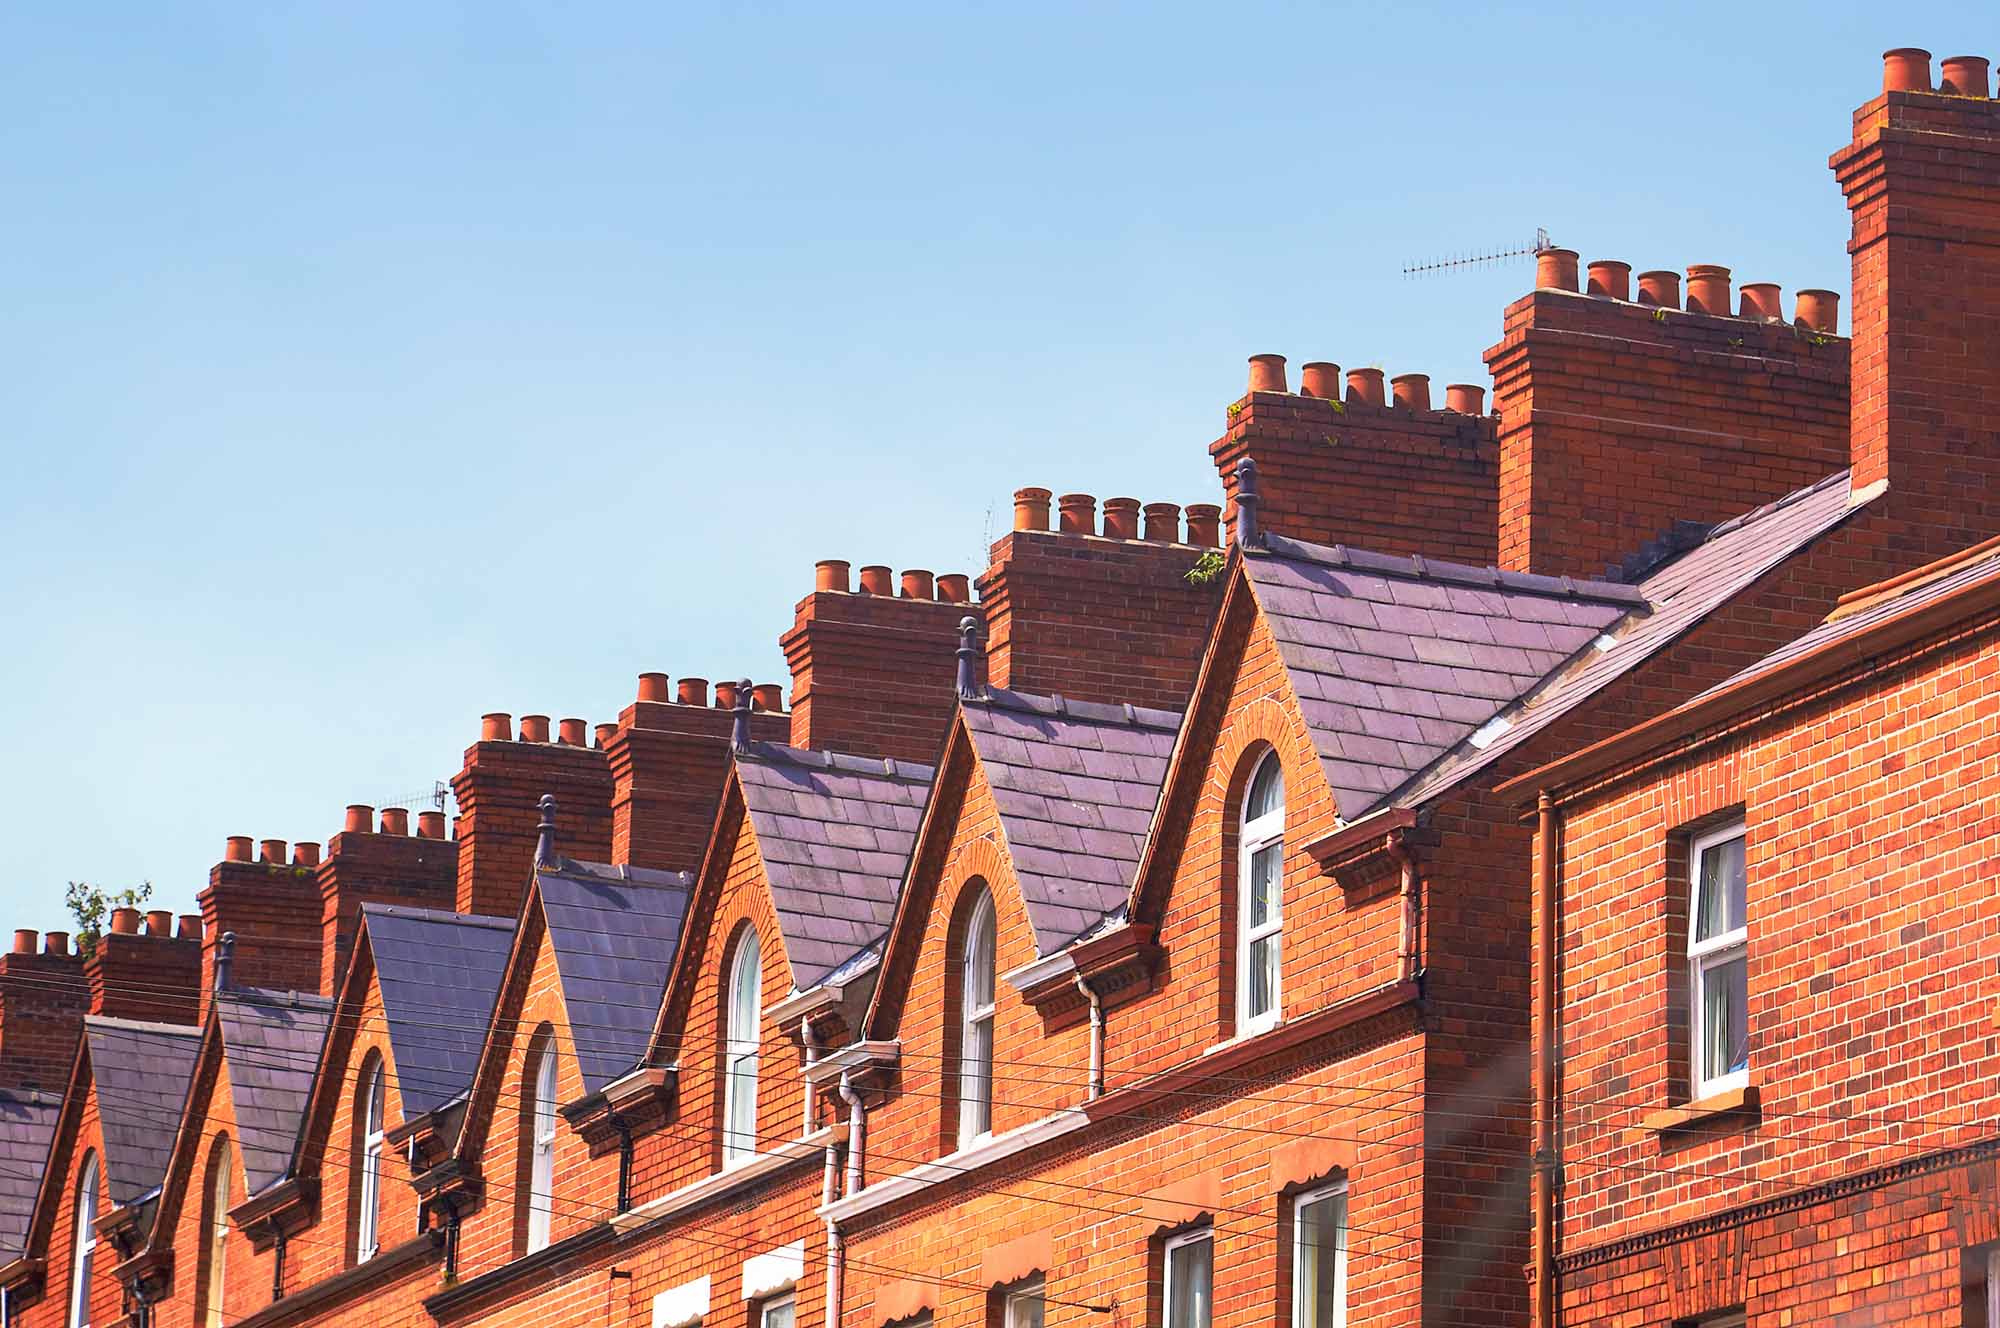
Check roofs and chimney stacks for slipped tiles and open mortar joints. Blocked gutters cause constant wetting of brickwork, visible as algae or dark streaks. Raised ground levels above the damp proof course can bridge it. Cracks in render and perished window sealant are classic sources of penetrating damp.
When a Damp Survey Becomes Essential Before Renovation
A damp survey is a detailed investigation using moisture meters and building diagnostics to identify the exact cause of damp, not just confirm its presence. It’s worth commissioning where you see tide marks, mould returning after cleaning, or musty smells in multiple rooms. An independent surveyor helps avoid oversold treatments — for a full walkthrough of what’s covered. Getting this diagnosis before builders price the job means accurate budgets and properly sequenced work.
Planning Damp-Safe Renovations: Sequencing, Materials, and Ventilation
Fix external defects and damp proofing first, then strip out damaged plaster, then allow drying time before new kitchens or flooring go in. In older solid-wall properties, choose breathable materials over cement renders that trap moisture. Internal wall insulation can create hidden condensation if not designed properly. Build a contingency of budget and time for damp-related discoveries once strip-out begins.
When You Must Act Now: Red Flags That Can’t Wait
Some signs mean pause and investigate immediately: spreading black mould, crumbling brickwork, rotten joist ends in contact with damp walls, or a persistent leak soaking timber. The first two may need a structural engineer too. Don’t be pressured into continuing cosmetic work when clear red flags are present — resolving moisture first almost always costs less long-term.
Conclusion: Diagnose Damp Early So Your Renovation Doesn’t Derail
Discoloured patches, black mould, musty smells, and cold damp walls all deserve investigation, not fresh paint. Understanding whether damp is condensation, penetrating, or rising is essential before choosing a fix. Build damp checks, and where needed a professional survey, into your planning. With the right diagnosis, even a damp-affected older terrace can become a warm, healthy home.
Frequently Asked Questions About Damp and Renovation
Can I go ahead and decorate if I suspect only “old” damp that’s now dry?
Look for no musty smell, no clammy feel, and no active mould or fresh salt deposits over several months. Test a few small areas by removing paint, and get spot moisture readings first. Even if dry, salt-contaminated plaster may still need replacing to stop new paint blistering.
Should I install a new damp proof course before or after other renovation works?
Damp proofing for rising damp should happen early, before new plaster and flooring go in. The typical order is external repairs and DPC work, then strip-out, drying, replastering, then decoration. Fitting cabinetry before DPC work risks costly refitting.
How long does it take damp walls to dry out during a renovation?
Lightly damp walls might dry within a few weeks of fixing the source, but heavily saturated masonry can take several months. Use moisture readings rather than guesswork to decide when it’s safe to replaster.
Are dehumidifiers enough to solve damp problems before or during renovation?
Dehumidifiers help manage moisture while a property dries out, but don’t fix underlying causes like leaks or poor ventilation. They suit short-term use during post-plaster drying, not a permanent fix.
